
Introduction
The font used on your website plays an important role in how visitors read and understand your content. A suitable font makes your pages look professional, improves readability, and creates a consistent design. If your website uses a font that is difficult to read or does not match your brand, changing it can improve the overall appearance.
WordPress provides several ways to customize fonts. Depending on your theme, you can use the Site Editor, the WordPress Customizer, a theme-specific settings panel, or custom CSS. You can also install a font plugin if you want additional typography options.
In this guide, you will learn how to change font in WordPress using simple methods, even if you have no coding experience.
Why Should You Change Fonts in WordPress?

Typography affects both the appearance and usability of your website. A readable font helps visitors understand your content without unnecessary effort. It can also make headings, paragraphs, buttons, and navigation menus easier to distinguish.
Here are some reasons to customize your website fonts:
- Improve readability: Choose fonts that are comfortable to read on different screens.
- Create a professional design: Consistent typography makes your website look organized.
- Build brand identity: Suitable fonts help your website reflect your business or personal style.
- Improve mobile usability: Proper font sizes make content easier to read on smartphones.
- Highlight important content: Different font weights and sizes help readers identify headings and key information.
Choose fonts that support your website’s purpose instead of selecting styles only because they look attractive.
Method 1: Change Fonts Using the WordPress Site Editor
The Site Editor is available on many modern block themes. It allows you to customize website styles without editing code.
Follow these steps:
- Log in to your WordPress dashboard.
- Navigate to Appearance > Editor.
- Open the Styles section.
- Select Typography.
- Choose the text element you want to customize, such as headings or paragraphs.
- Select an available font family and adjust the font size, weight, or line height.
- Preview your changes and click Save.
Some themes provide additional typography controls, while others offer fewer options. If you cannot find a font setting, check whether your theme supports typography customization.
This method is useful because you can often update the appearance of multiple pages from one location.
Method 2: Change Fonts Through the WordPress Customizer
Classic WordPress themes may include font settings in the Customizer. However, the available options depend on your installed theme.
To check your settings:
- Open your WordPress dashboard.
- Go to Appearance > Customize.
- Look for options such as Typography, Fonts, General Settings, or Design.
- Select the font you want to use.
- Adjust the font size and other available settings.
- Preview the website before publishing your changes.
- Click Publish when you are satisfied.
If your theme does not provide typography controls, you may need to use its dedicated settings panel, a compatible plugin, or custom CSS.
Method 3: Change WordPress Fonts Using a Plugin
A font plugin can be helpful when your theme does not offer enough customization options. Depending on the plugin, you may be able to add custom fonts and apply them to headings, paragraphs, or other website elements.
To use this method:
- Visit Plugins > Add New Plugin in your dashboard.
- Search for a typography or custom-font plugin.
- Review its compatibility, update history, and available features.
- Install and activate the plugin you choose.
- Open its settings and select or upload your preferred font, if supported.
- Apply the font to the required text elements.
- Preview your website on desktop and mobile devices.
Avoid installing several plugins that perform the same task. Too many unnecessary plugins can make website management more complicated.
Before uploading a font file, check its licence and confirm that your website is permitted to use it.
Method 4: Change Fonts Using Custom CSS
Custom CSS is another option when your theme does not provide the exact typography controls you need. This method is suitable for users who are comfortable making small code changes.
First, open your WordPress dashboard and look for Appearance > Customize > Additional CSS. This option is commonly available with classic themes, but it may not appear in every installation.
You can use the following example to change the font family and size of paragraph text:
body {
font-family: Arial, sans-serif;
font-size: 16px;
}
h1, h2, h3 {
font-family: Georgia, serif;
}
The first rule applies Arial to the website body, while the second uses Georgia for the specified headings. Your theme’s existing styles may override these rules, so the result can vary.
To change the font for a particular element, you may need to target its CSS class or selector. Add the code, preview the changes, and publish it only when the result looks correct.
Always keep a backup or record of your original CSS before making significant design changes.
How to Change Font Size in WordPress

Changing a font family is different from changing its size. If your text looks too small or too large, adjust the font-size setting instead.
In the Site Editor, open Styles > Typography and select the relevant text element. Depending on your theme, you may also find font-size controls in individual block settings.
For example, you could use a larger size for headings and a comfortable size for body text. Keep the hierarchy consistent across your website so visitors can easily scan your content.
Avoid making paragraph text unnecessarily small, especially on mobile screens.
How to Choose the Best Font for Your Website

The best font depends on your audience, content, and website design. A business website may benefit from a clean, professional typeface, while a creative portfolio may use a more distinctive style.
Consider these tips when choosing a font:
- Select a font that is easy to read.
- Use a limited number of font families to maintain consistency.
- Make headings visually different from paragraph text.
- Check that the font supports the languages used on your website.
- Test typography on mobile phones, tablets, and desktop screens.
- Consider font loading speed and avoid unnecessary font variations.
Web-safe fonts can be a simple choice, while web fonts provide more design flexibility. Whichever option you choose, prioritize readability and performance.
Common WordPress Font Problems and Their Solutions

Sometimes a font change does not appear immediately. This can happen because of browser caching, a caching plugin, a content delivery network, or conflicting theme styles.
Try these solutions:
Clear the cache: Clear your WordPress caching plugin and browser cache, then reload the page.
Check theme settings: Some themes have their own typography controls that may override other settings.
Review CSS conflicts: Existing styles may have greater priority than your custom CSS.
Verify font files: If you uploaded a custom font, confirm that the file is supported and loads correctly.
Test different devices: Make sure the font remains readable on both desktop and mobile screens.
If the problem continues, temporarily test the changes on a staging website before editing your live website further.
Conclusion
Changing fonts in WordPress is a straightforward way to improve your website’s appearance and readability. You can customize typography through the Site Editor, the Customizer, a font plugin, or custom CSS, depending on your theme and requirements.
Start with the built-in settings before adding plugins or code. Choose readable fonts, maintain consistent typography, and test your changes across different devices. With a few adjustments, you can create a more professional and user-friendly WordPress website.
Frequently Asked Questions
1. How do I change the font in WordPress without a plugin?
You can use the Site Editor or your theme’s Customizer if typography settings are available. Custom CSS is another option for making specific font changes without installing a plugin.
2. Can I use Google Fonts in WordPress?
Yes. You can use Google Fonts if your theme or a compatible plugin supports them. You should also check current font loading methods and privacy requirements before choosing an implementation.
3. Why is my WordPress font not changing?
Your theme settings, CSS conflicts, or cached files may prevent the new font from appearing. Clear the cache and check whether the selected font is supported and applied to the correct element.
4. How can I change the font size in WordPress?
Open the relevant block settings or your theme’s typography controls. Select the text element and adjust its font size according to your design.
5. Does changing fonts affect WordPress SEO?
Changing a font alone does not guarantee better rankings. However, readable typography and efficient font loading can support a better user experience and page performance.
6. Can I use different fonts for headings and paragraphs?
Yes. Many WordPress themes allow separate font settings for headings and body text. Custom CSS can also apply different font families to specific elements.
7. What is the best font size for WordPress websites?
There is no single size that works for every design, but 16px is a common starting point for paragraph text. Test readability across devices and adjust headings and body text to suit your layout.
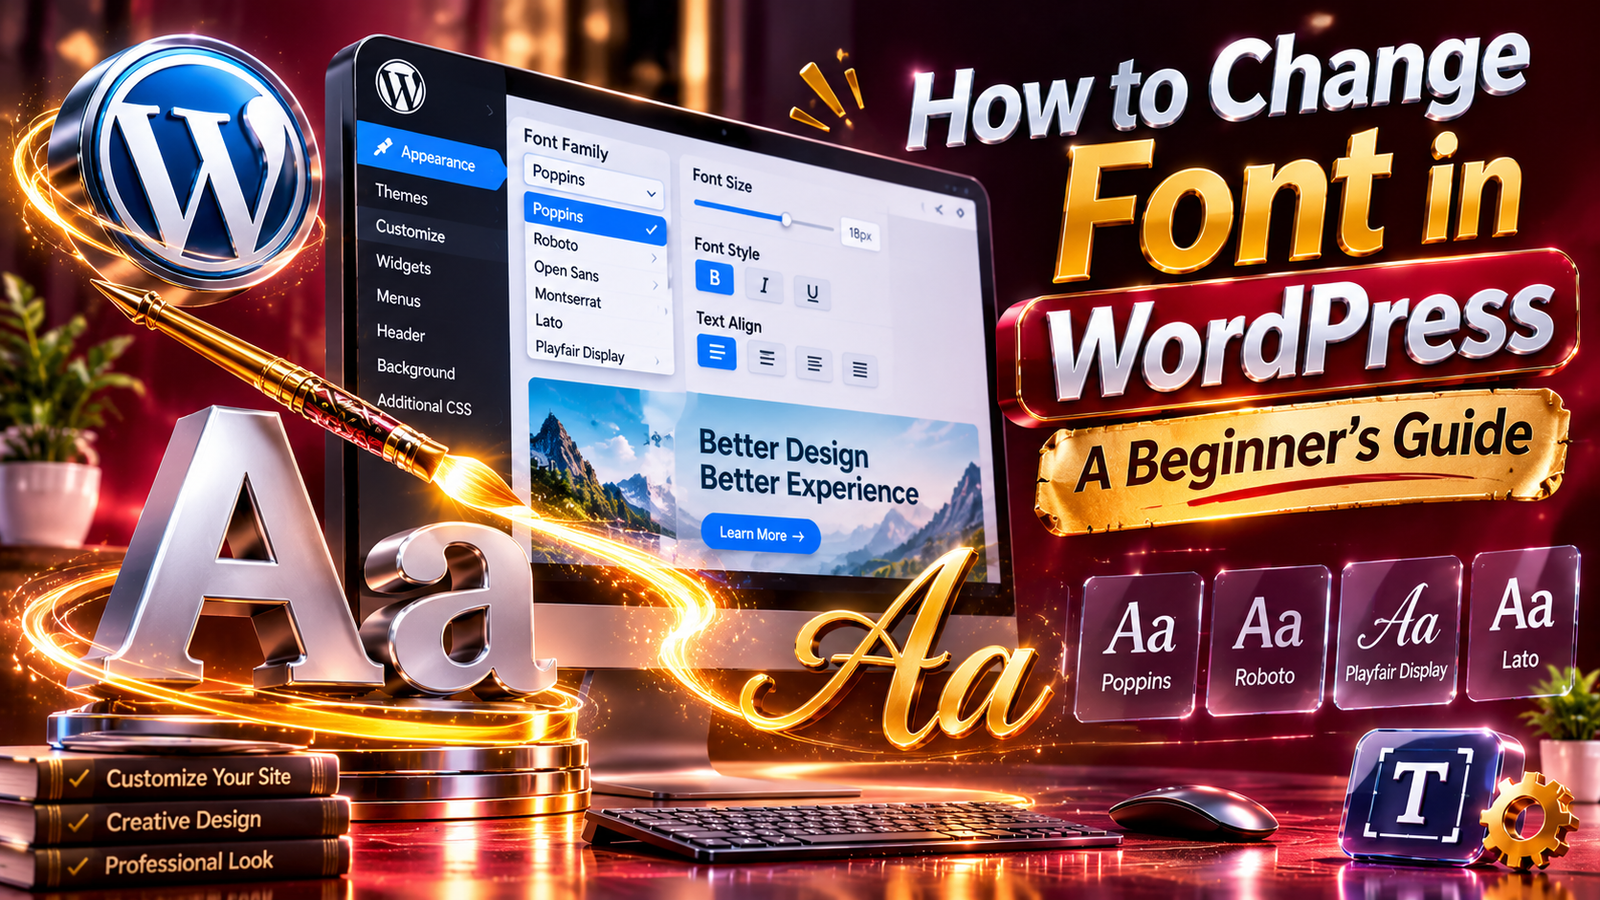
[…] How to Change Font in WordPress A Beginner’s Guide […]